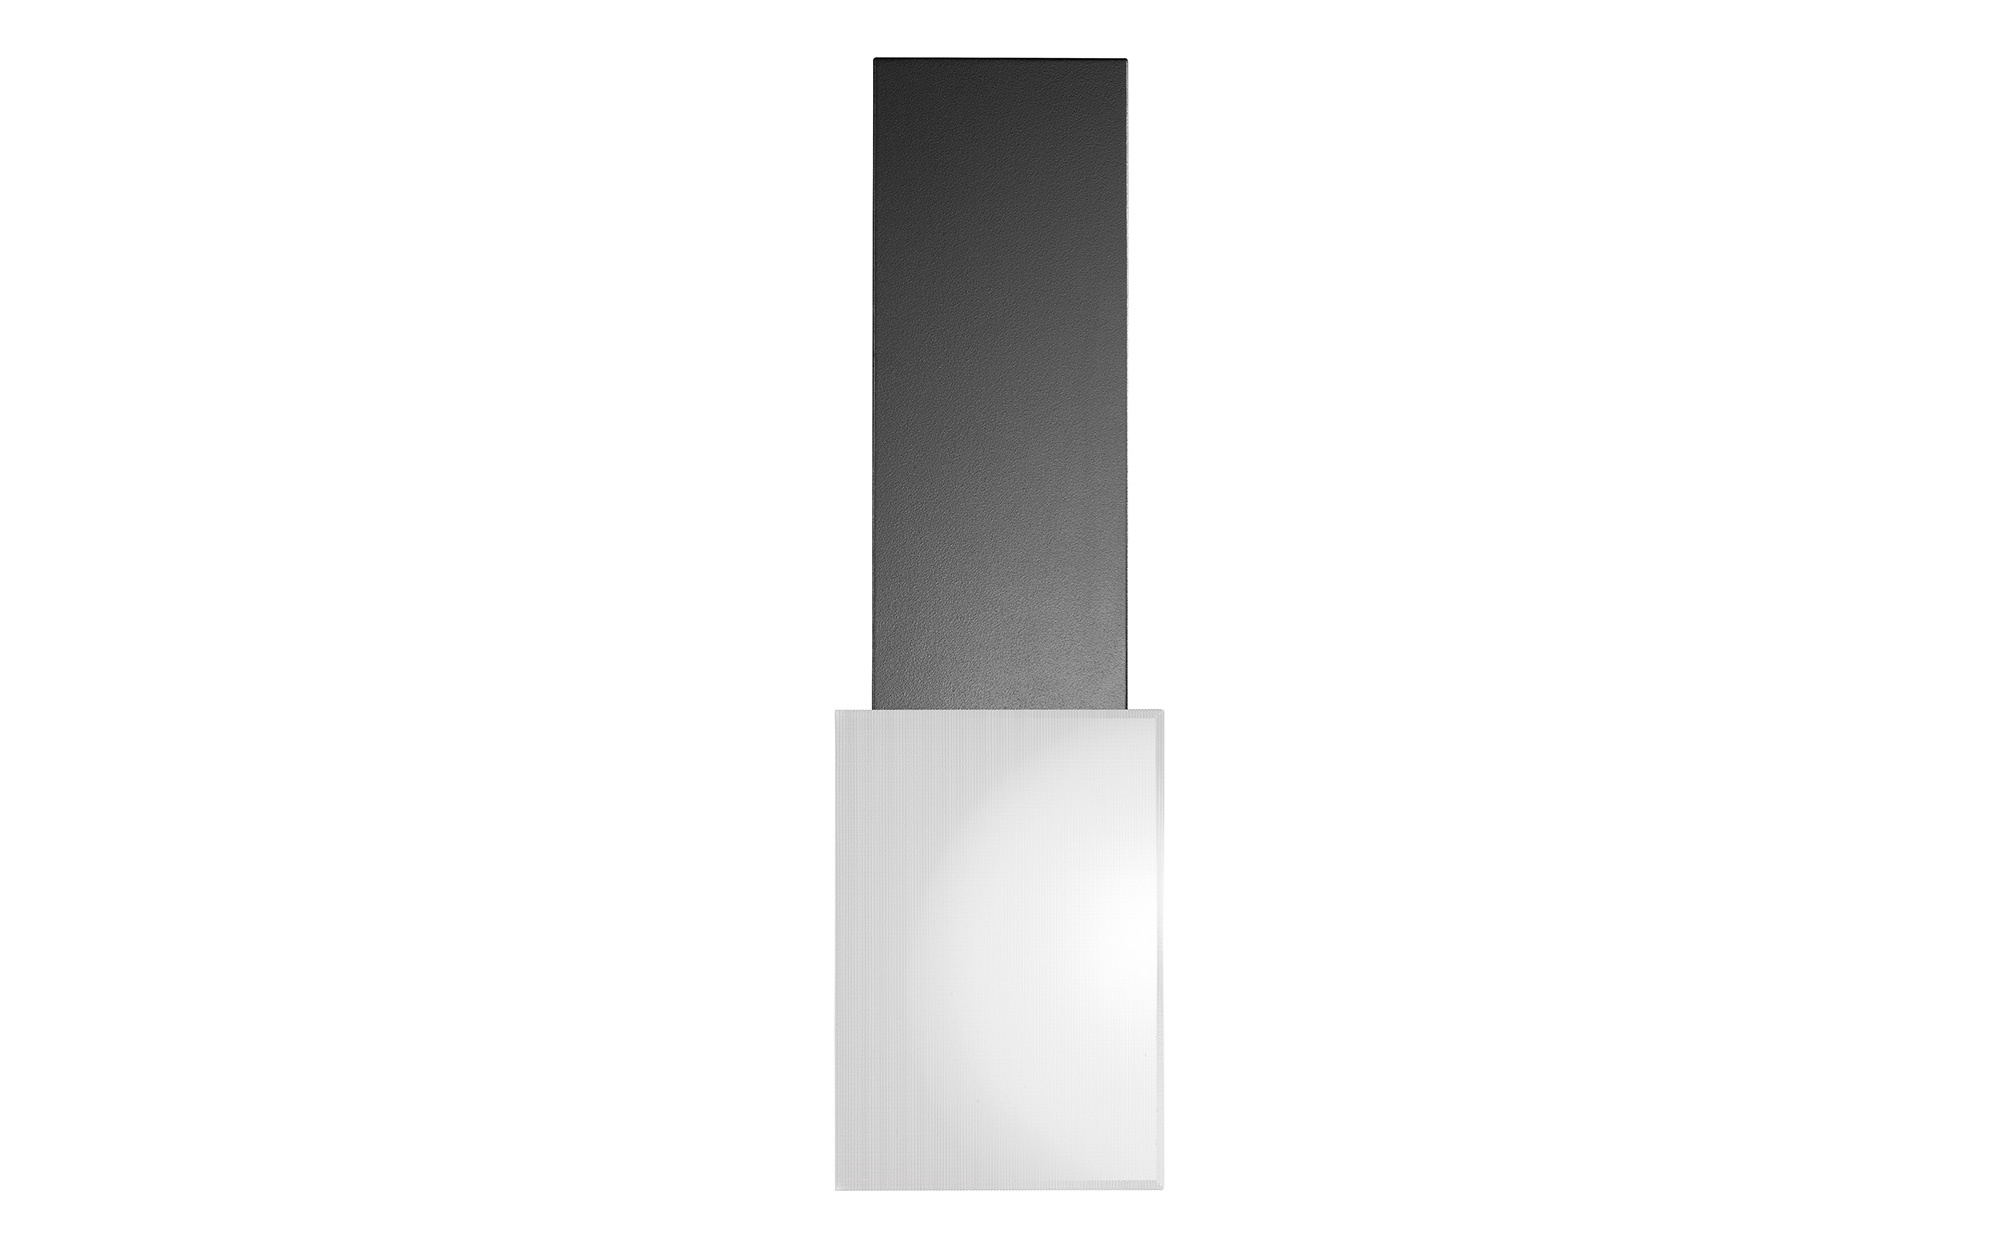
Performance Series In-Wall
Meridian customers - create an account so you can register your product(s) for your extended warranty.
Dealers, integrators, and installers - create an account to request access to Dealer Resources and/or apply to become a Meridian dealer.

Performance Series In-Wall
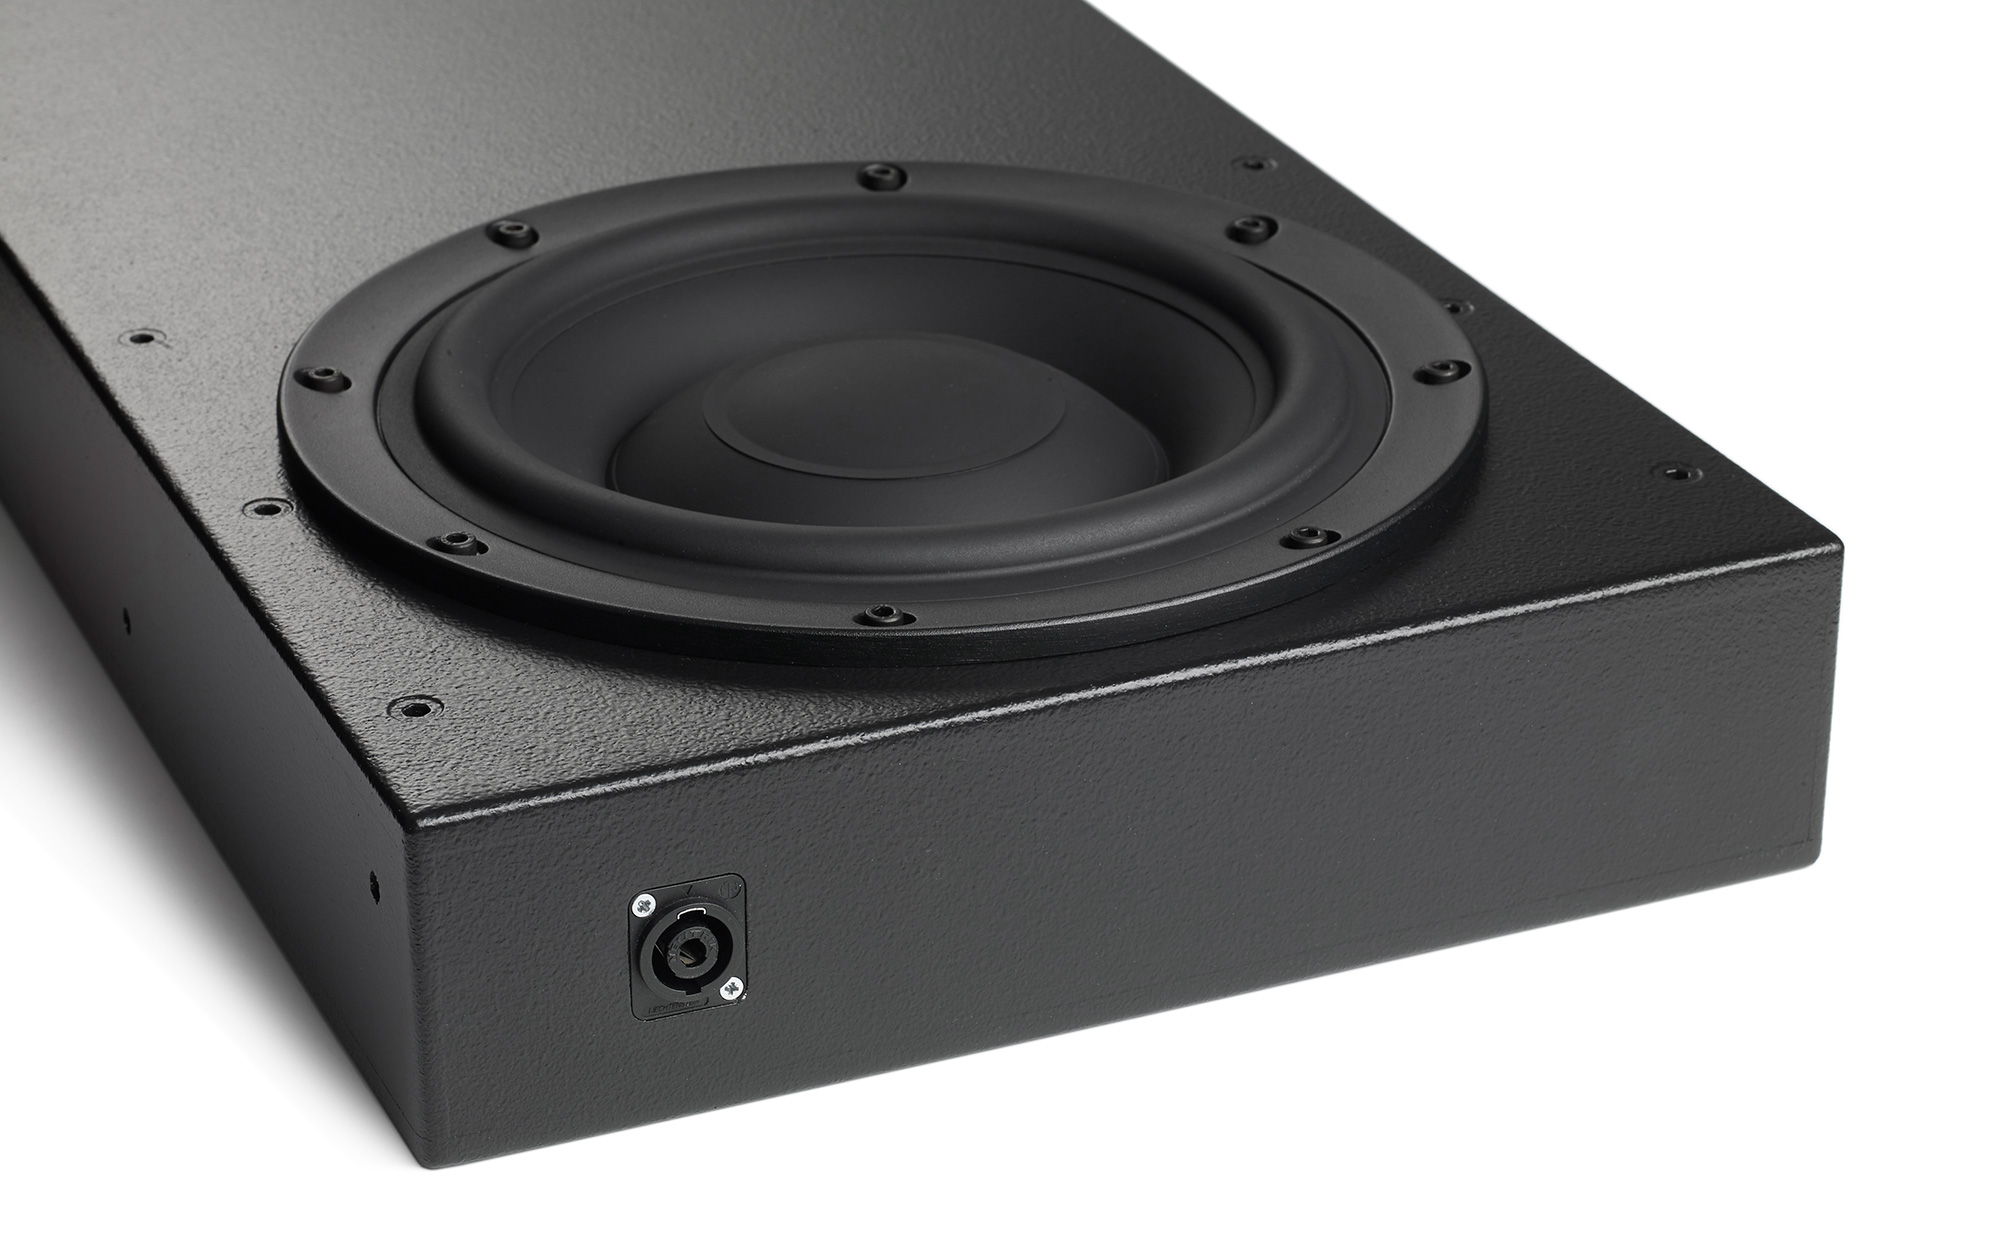
The DSW600 is a shallow-depth, digital active in-wall subwoofer designed to handle the most bass heavy music and movie soundtracks with ease. Deep, powerful and exciting bass is delivered with perfect timing down to 24Hz thanks to Meridian’s unique ‘DSP’ advantage and Enhanced Bass Alignment Technology.
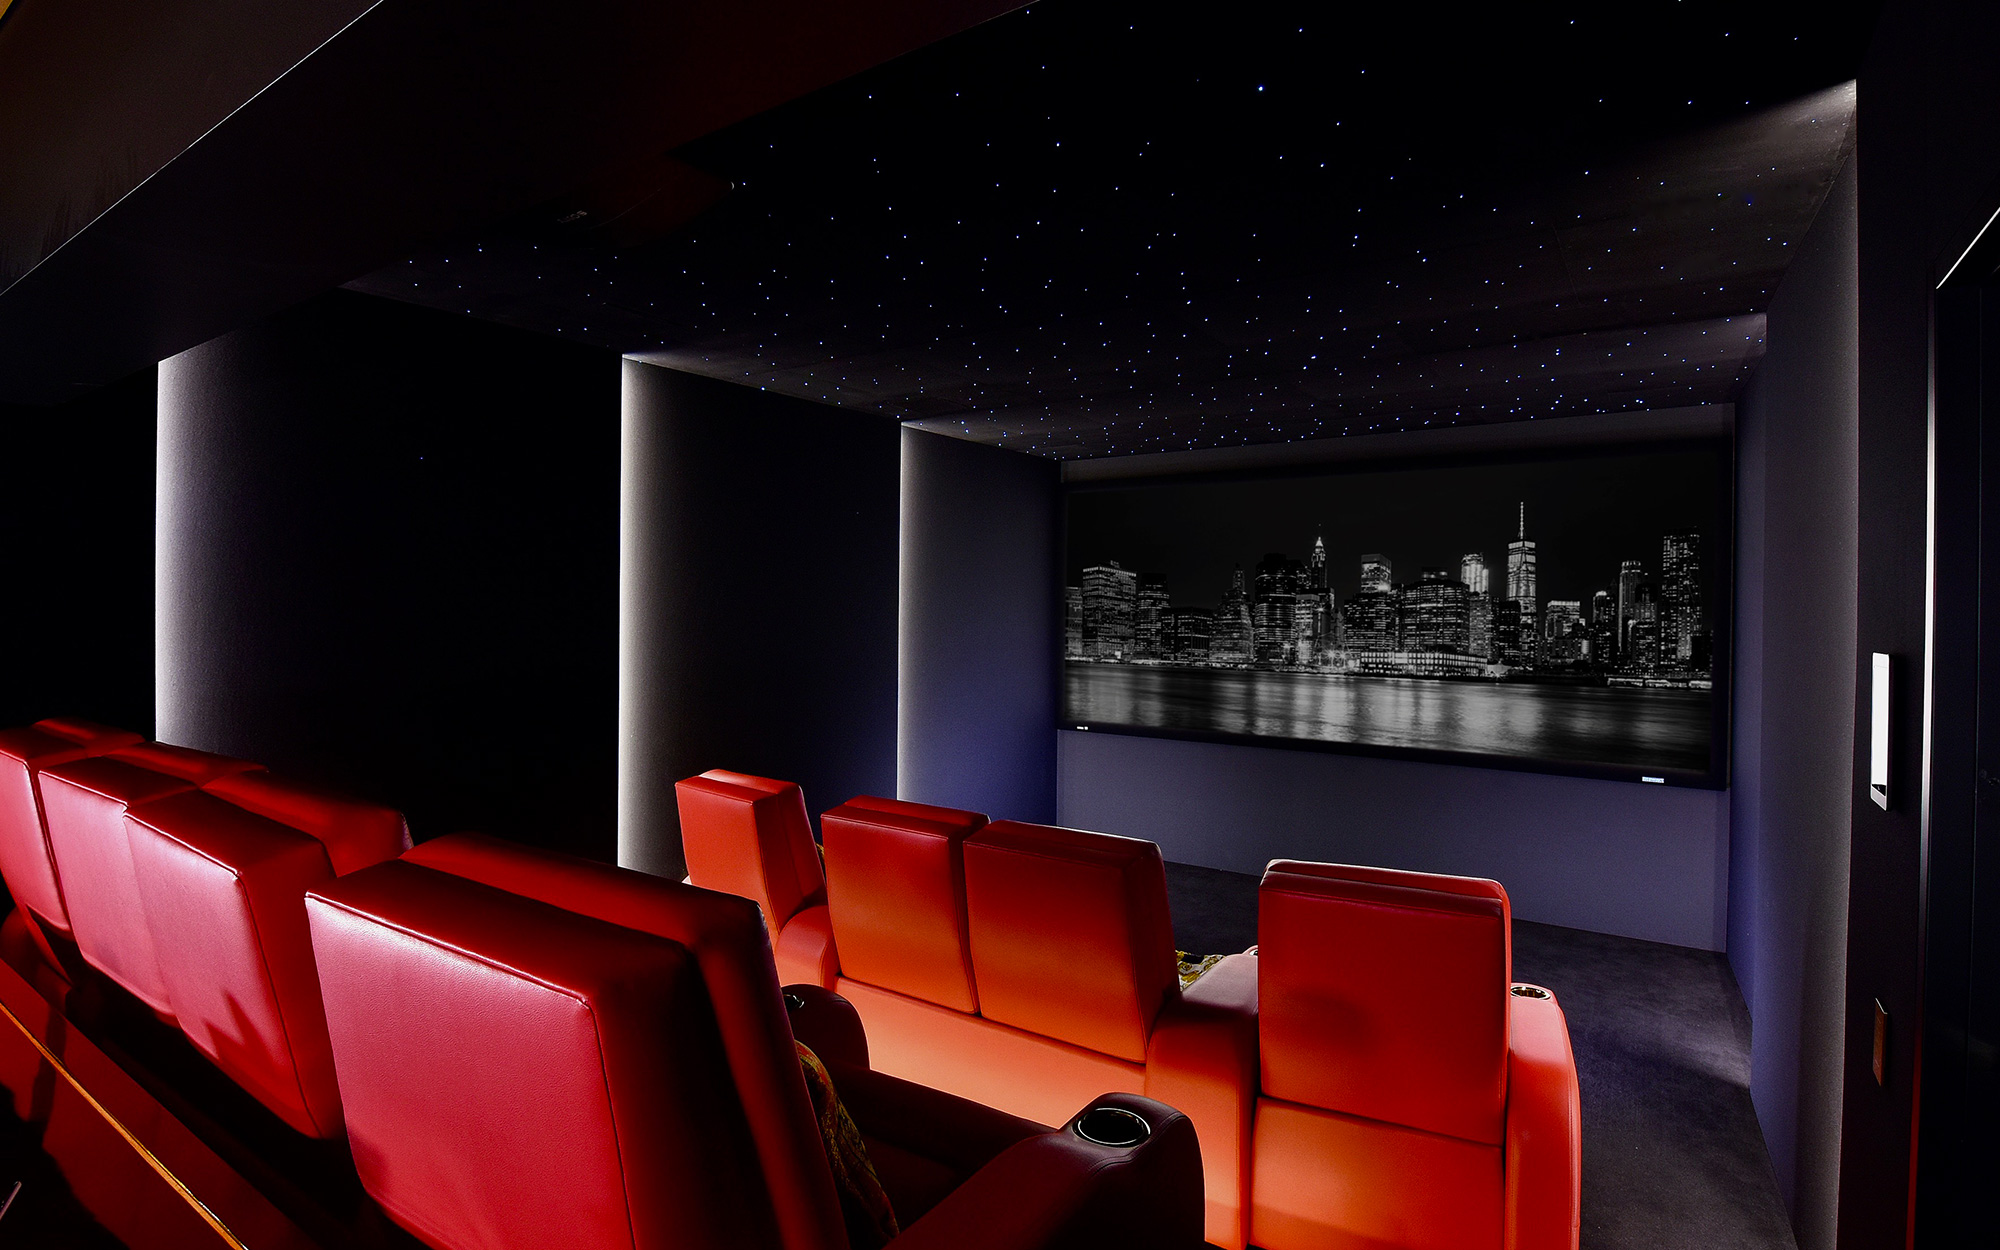
The DSW600 can integrate into a variety of installation applications, it delivers impactful bass in any room size and as part of any loudspeaker configuration; it can be used to augment the bass from other loudspeakers in both two-channel and surround-sound systems, and it can be used to play the dedicated LFE channel - either on its own or when used in multiples.
Find a distributorPerformance Series In-Wall
DSW600
The DSW600 is a shallow-depth in-wall subwoofer designed to handle the most bass-heavy music and action-movie soundtracks effortlessly. Deep, powerful and exciting bass is delivered with perfect timing down to 24Hz thanks to Meridian’s unique ‘DSP’ advantage and Enhanced Bass Alignment Technology. The DSW600 can integrate into a variety of installation applications. It delivers impactful bass in any room size as part of any loudspeaker configuration and, when combined with any Meridian Architectural loudspeaker, the resulting two-box in-wall solution provides full-range performance suitable for either two-channel or surround-sound systems. It can also be used to play the dedicated LFE channel - either on its own or when used in multiples.
Meridian Bespoke Signal Mapping utilises digital signal processing to apply tailored crossover filters that are designed specifically for each configuration of drive units within a loudspeaker.
Meridian E3 Bass uses specifically designed filters to expand, extend and enhance the low-frequency response of the loudspeaker.
FFA (Full Frequency Alignment) is a combination of digital filters and delays to correct the group-delay of a loudspeaker. It ensures that all frequencies reach the listener's ear at the same time.
Meridian Q-Sync deploys Meridian's multiple “First In, First Out” buffering system which minimises jitter, ensuring perfect timing and improved clarity.
Meridian Resonance Control uses the dimensions of the room in order to compensate for the primary modal resonances that are especially exacerbated by loudspeakers with downward firing speakers, or by in-wall mounted loudspeakers.
Meridian Pro-Active Bass protects the bass drivers from over-excursion, ensuring maximum bass output without damaging the drive units.
True Time is Meridian's proprietary Apodising Filter that avoids pre-ringing and cleans up the effects of early filters, converting pre-echo to post-echo.
Meridian True Link is an encryption method for transferring high-definition digital audio over SPDIF connections. It allows secure movement of digital audio whilst ensuring that the SPDIF clock signal can be transmitted with minimum degradation.
Meridian Digital Precision maximises the signal-to-noise ratio of the digital audio, ensuring the finest details of every song are retained.
Architectural Performance Range
Our Architectural loudspeakers incorporate resolution enhancing technologies for the ultimate listening experience in a large range of installation applications. With virtually no visual impact to the decor, these powerful, full-range in-wall solutions require only a 100mm mounting depth and produce wide sound dispersion over the listening area.
Here you will find a quick overview of the product highlights and features.
Here you will find installation information and operating instructions.
Here you will find a summary of the complete range of Meridian products in one document.
Audio Inputs
Meridian SpeakerLink (RJ45) accepting 32kHz to 96kHz sampling rates at up to 24-bit
Audio Outputs
Meridian SpeakerLink (RJ45) delivering 32kHz to 96kHz sampling rates at up to 24-bit
Performance
Frequency response: 24Hz to 120Hz
Amplifiers
1 x Class D amplifier capable of producing over 600W RMS on music or movie transients
Bass Drivers
1 x 10in long-throw, low profile design
Controls
Power On/Off switch
Channel selector switch to select which digital audio received via the SpeakerLink input is played
LED indicator shows power status
Power
IEC mains connector - 550W
Product Dimensions
HEIGHT - with grille fitted: 1452mm (57.2in)
HEIGHT - without grille: 1429mm (56.3in)
WIDTH: 343mm* (13.5in)
DEPTH: 87mm (3.4in)•Weight: 23kg (50.6lbs)
Packed Dimensions
LENGTH: 1340mm (52.8in)
WIDTH: 485mm (19.1in)
DEPTH: 290mm (11.4in)
WEIGHT: 30kg (66.0lbs)


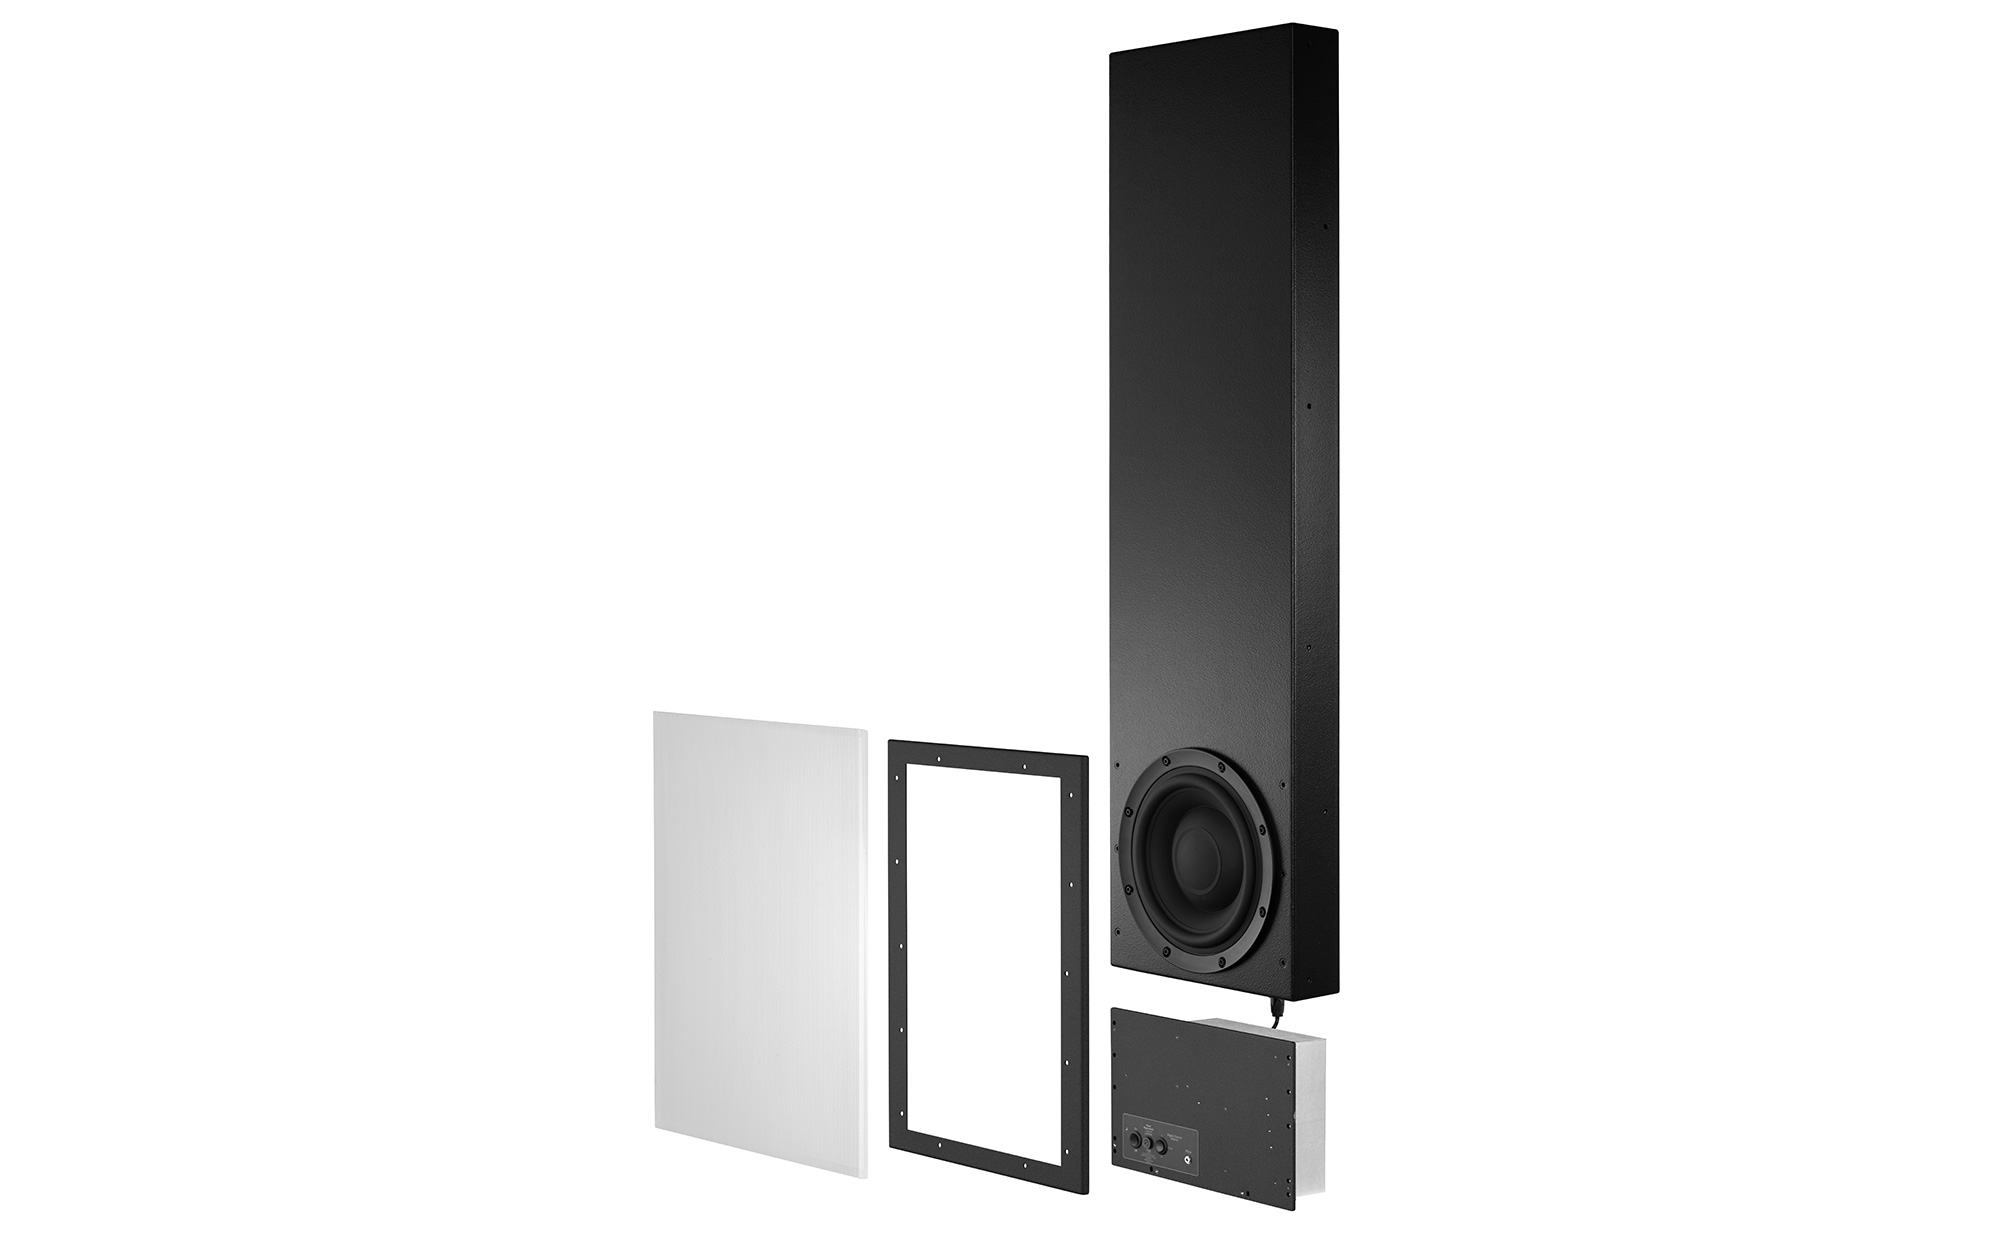

The green LED on the electronics module of the DSW600 lights up when the DSW600 is powered up. When in Standby mode, the LED lights dimly. When out of Standby mode, the LED lights more brightly. If the LED does not light up when the mains On/Off switch is in the 'On' position, the mains supply and the mains inlet fuse should be checked.
The DSW600 comes out of Standby mode when it receives an appropriate communication signal from another Meridian product. This signal is received on the SpeakerLink input socket of the DSW600 and is produced when the rest of the system is brought out of Standby. When this happens, the green LED on the electronics module of the DSW600 is illuminated brightly.
In Standby mode, the green LED on back-panel illuminates dimly. When out of Standby, the green LED illuminates brightly. As 'brightly' and 'dimly' are relative terms, it can be useful to watch the LED as the system is brought out of Standby. The change from dim to bright is quite obvious and should confirm whether the product is coming out of Standby mode.
Bass output can be increased, but it may require some configuration. In a two-channel system connected using SpeakerLink cables, the default settings mean that when a DSW600 is added, bass frequencies are no longer produced by the main loudspeakers. Rather, bass is diverted to the subwoofer instead of the main loudspeakers. However, some users would prefer to have bass from the subwoofer in addition to the full-range bass already produced from their main loudspeakers. To do this, it is necessary to set the main loudspeakers to produce full-range bass. On Meridian architectural loudspeakers and other Meridian loudspeakers without a digital display, this is done using RS232 commands. On Meridian loudspeakers with a digital display, it is done through the set-up menu. Once this is done, the subwoofer gain and filter controls can be used to tune the sound to taste. For a full explanation of how to set a particular model of loudspeaker to full-range, refer to its support documentation.
This selects the range of frequencies which are sent to the subwoofer. 'Sub1' employs a low-pass filter with a shoulder at approximately 80Hz. 'Sub2' is based on approximately 120Hz. The filter to be used can be selected according to personal taste based on listening tests.
Non-Meridian loudspeakers can be used with the DSW600 in combination with the Meridian 218 Zone Controller. This unit accepts audio signals in digital or analogue line-level form and uses its on-board DSP to derive dedicated feeds for the subwoofer as well as the main left and right main channels. The 218 features gain and filter controls to allow the subwoofer to be sonically integrated with the main loudspeakers.
Yes. The Meridian PC set-up program, MConfig, supports systems with all analogue main channels and a DSW600.
Music mode extends the bass response of the DSW600 down to 24Hz and provides a superior transient response, i.e. it sounds 'faster'. Conversely, Movie mode produces a higher level of bass output, but the response does not extend quite so low. This tends to make for a more 'impactful' sound more appropriate for use with movie content.
If one DSW600 is used, the switch should be set to '1+2'. This ensures that the DSW600 plays bass which is present in both the left and right channels of the audio mix. If two DSW600s are in use, there are two options: One option is to set both DSW600s to '1+2' so the two units produce the same mix of left and right bass. However, in systems where one DSW600 is close to the left loudspeaker and the other is close to the right loudspeaker it may be beneficial to set the DSW600s to produce bass which is specific to the two separate channels. To do this, set the left DSW600 to '1' so it produces the left channel bass and set the right DSW600 to '2' so it produces the right channel bass.
If the DSW600 is being used to play the dedicated Mono or LFE subwoofer channel generated by the Surround Controller, the switch should be set to “2”. If the DSW600 is being used to augment the bass for one of the other channels or a pair of the other channels, then the switch should be set as follows:
| Loudspeaker to be augmented | Switch position |
| Left main channel | 1 |
| Left side channel | 1 |
| Left rear channel | 1 |
| Centre channel | 1 |
| Right main channel | 2 |
| Right side channel | 2 |
| Right rear channel | 2 |
| Left and right main channels | 1+2 |
| Left and right side channels | 1+2 |
| Left and right rear channels | 1+2 |
Check the Digital Channel Selector switch on the DSW600 is set to '2'. If the switch is set to '1' or '1+2', the DSW600 can attempt to play sounds intended for the centre-channel loudspeaker.
The DSW600 can be connected to an unused SpeakerLink output socket on the system. This socket could be on either of the loudspeakers or on the controller device. The sockets available will vary according to which products are in the existing system and how they are connected.
To do this, a Meridian AC12 adapter can be used to convert the legacy connections on the Slave loudspeaker to SpeakerLink.
Yes, this is normal and does not indicate any problem with the unit.
Yes. The DSW600 can emit high sound pressures from its drive-unit and the laws of physics dictate that the product must be very securely fastened to its surroundings in order to prevent unwanted rattles or buzzes. In addition to this, secondary precautions can be taken to avoid unwanted noises due to the severe mechanical forces involved when producing low frequency audio at high levels. Silicone sealant (caulking) and other damping materials may be applied to any areas with potential for suffering from vibrations.
Yes. A generous bead of silicon sealant (minimum width 5mm) should be applied to the front faces of the studs and between the foam damping strips on the front of the subwoofer’s acoustic assembly.
The product features a single-pole power switch. As a result, it is not isolated from the AC power when switched off from the front-panel. It may be isolated from the mains power by unplugging the mains lead from the product or from the supply outlet. If local building regulations stipulate that it must be possible to isolate the product and the mains lead is not accessible, it is therefore necessary to include an accessible power switch which will completely isolate the product.
The installation shield is essential as it performs up to three important functions:
• It protects the drive-unit against accidental damage and prevents the ingress of dust, paint and other debris.
• It acts as a brace and a template to ensure the electronics module can be successfully fitted later on. It does this by holding the lower mounting wings in the correct position for the fixing holes to align while ensuring the correct portion of the subwoofer is left exposed in order for the electronics module to be fitted.
• If the grille is to be fitted to the subwoofer, the installation shield acts as a template for the subsequent fitment of the grille frame onto which the grille is mounted. If plasterboard (sheetrock) is fitted such that it abuts to the installation shield, it ensures that the grille frame can be successfully fitted to the subwoofer once the installation shield is removed.
No. Screws and other fittings are included to assemble the various component parts of the subwoofer together. However, fixings to attach the product to the wall are not supplied. These should be chosen to suit the type and size of the studwork (or other structure) onto which the subwoofer is mounted. The subwoofer’s mounting wings have 18 holes for these fixings.
Material in front of the drive-unit should be no nearer than 30mm (1¼ in) from the front of the subwoofer cabinet.
Yes. A gap of at least 100mm (4in) between the bottom of the installed subwoofer and the studwork is required to allow access to the cables which connect to the electronics module.
After a skim of plaster has been applied to the outer wall layer, it is necessary to cut around the installation shield so it can be removed. The edging strips greatly ease this operation and reduce the potential for having to repair chips and scuffs inflicted while removing the installation shield.
No. Some of the fittings are supplied to allow the subwoofer to be fitted with its grille-frame and grille and others are used only when the grille-frame is not fitted. Therefore, there will be fittings left unused after either type of installation.
Meridian does not supply an extension cable, but there are two options available for you.
The audio cable on the module is fitted with a female Neutrik 4-pole Speakon connector. The cabinet enclosure is fitted with a male Neutrik 4-pole socket. Ready-made 4-pole Speakon cables are available in the marketplace, but they tend to be female-to-female. These can be used, but they require a 4-pole male-to-male Speakon adapter to be fitted to one end of the cable. A suitable adapter is the Neutrik NL4MMX.
Otherwise, if you want to build your own cable, the following connectors can be used:
• Neutrik NLT4MXX – male connector to receive the flying lead from the electronics module .
• Neutrik NLT4FXX - female connector to plug into the cabinet enclosure.
Although the product is fitted with 4-pole connectors, only two of the poles are used – the “1+” and “1-“ terminals. Hence, the extension cable needs only two wires:
• The positive wire runs from “1+” on the male connector to “1+” on the female connector.
• The negative wire runs from “1-” on the male connector to “1-” on the female connector.
Whether using a ready-made or custom-built extension cable, to avoid adding too much extra impedance to the load presented to the output of the subwoofer amplifier, the cable should be made with suitably thick cabling. The standard flying lead from the electronics module uses high-quality AWG 18 cabling. Short extension cables of up to few metres should use this gauge as a minimum. Longer runs should follow standard industry guidelines for cable gauge versus length of speaker runs.
A digital multimeter can be used to measure the resistance of the drive-unit at the “Speakon” audio connection on the underside of the acoustic enclosure. To do this, the electronics module must be removed from the subwoofer. The drive-unit should measure approximately 6.2 Ohms.